Discover how to craft delicious homemade jelly using Sure-Jell pectin. This guide provides step-by-step instructions for creating perfectly set jelly with minimal effort and maximum flavor retention. Perfect for beginners and experienced cooks alike, these instructions ensure a smooth and rewarding jelly-making process. Whether you’re using fresh fruit or preserves, Sure-Jell helps achieve that ideal balance of flavor and texture for a mouthwatering result every time.
Overview of Sure-Jell and Its Role in Jelly Making
Sure-Jell is a popular pectin-based product designed to help homeowners create perfectly set jellies and jams. Pectin, naturally found in fruit, acts as a gelling agent, and Sure-Jell enhances this process, ensuring a consistent texture. Its ease of use and reliable results have made it a favorite among jelly makers. By following the instructions, anyone can achieve professional-quality jelly with minimal effort, making it an essential tool for homemade preserves.
Why Choose Sure-Jell for Homemade Jelly
Sure-Jell is a trusted choice for homemade jelly due to its reliable gelling properties and ease of use. It simplifies the jelly-making process, ensuring consistent results and reducing the risk of failure. Perfect for both novices and experienced cooks, Sure-Jell enhances the natural flavors of fruit while providing a smooth, professional-quality texture. Its versatility and effectiveness make it an ideal solution for creating delicious, homemade preserves with minimal effort and maximum satisfaction.
Ingredients and Materials Needed
Fresh or frozen fruit, Sure-Jell pectin, granulated sugar, water, and lemon juice are essential. Additionally, you’ll need a large pot, strainer, measuring cups, wooden spoon, and sterilized jars with lids.
Essential Ingredients for Sure-Jell Jelly
The core ingredients include fresh or frozen fruit, Sure-Jell pectin, granulated sugar, water, and lemon juice. For typical recipes, you’ll need 1 package of Sure-Jell, 4 cups of sugar, and 2 cups of fruit juice. Lemon juice enhances flavor and aids in setting. Measurements must be precise for proper gel formation. Always use the exact amount of sugar and pectin called for in the recipe to ensure success.
Required Kitchen Tools and Equipment
Gather essential tools: a large pot for boiling, a strainer or food mill for extracting juice, measuring cups and spoons for precise amounts, and glass jars with lids for storage. Sterilized utensils like a wooden spoon and ladle are crucial. A candy thermometer helps monitor boiling points, ensuring proper gel formation. Clean, sterilized jars and rims are vital for safe canning and storage. Have everything ready to streamline the jelly-making process.
Preparation Steps
Begin by washing and preparing the fruit, then extracting its juice. Sterilize all jars and utensils to ensure cleanliness. Organize your workspace and ingredients for a smooth process.
Measure everything accurately to achieve the best results.
Washing and Preparing the Fruit
Start by thoroughly washing the fruit under clean water to remove dirt, stems, and debris. Gently scrub berries or delicate fruits to avoid bruising. Next, sort and discard any damaged, moldy, or unripe fruit. For larger fruits like stone fruits or apples, chop them into small, uniform pieces. Berries can be left whole or crushed, depending on the desired texture. This step ensures purity and even extraction of flavors during cooking.
Remember to pat dry excess moisture to prevent diluting the jelly mixture.
Extracting Juice for Jelly Making
Combine prepared fruit and water in a large saucepan, simmering until the fruit softens. Use a cheesecloth or fine-mesh strainer to strain the mixture, ensuring no solids remain. Discard the pulp and seeds, then measure the extracted juice to determine the precise amount of Sure-Jell needed. This step is crucial for achieving the ideal flavor and consistency in your homemade jelly.
Always avoid squeezing the cheesecloth to prevent cloudiness in the final product.
Sterilizing Jars and Utensils
Thoroughly wash jars, lids, and utensils in hot soapy water, then rinse well. Sterilize by submerging in boiling water for 10–15 minutes. Use tongs to carefully remove items, ensuring no water droplets remain. This step is essential for preventing contamination and ensuring your jelly remains fresh. Always handle sterilized items with clean utensils or gloves to maintain sterility before filling.
Proper sterilization is crucial for safe canning and long-term storage.
Cooking Instructions
Mix Sure-Jell with fruit juice, bring to a boil, then add sugar and return to a boil. Ensure precise measurements and consistent heat for perfect jelly consistency.
Mixing Sure-Jell with Fruit Juice
Mixing Sure-Jell with fruit juice is a critical step. Combine the pectin with a small amount of juice to dissolve it evenly. Use a whisk or spoon to ensure no lumps form. Proper mixing prevents uneven texture and ensures the jelly sets correctly. Add the mixture to the remaining juice, stirring thoroughly. Use a large, heavy-bottomed pot and wooden spoon for even distribution. Avoid over-mixing, as it can lead to a too-firm consistency.
Bringing the Mixture to a Boil
Bringing the mixture to a boil is essential for proper jelly formation. Use a large, heavy-bottomed pot to prevent overflow. Place the pot over medium-high heat, stirring constantly to avoid scorching. As the mixture thickens, adjust the heat if needed to maintain a steady boil. Do not leave the stove during this process, as constant monitoring ensures the jelly reaches the correct consistency and achieves a smooth texture perfectly;
Adding Sugar and Returning to a Boil
Add sugar gradually while stirring to ensure even dissolving. Once all sugar is incorporated, increase heat to achieve a hard boil. Use a candy thermometer to verify the mixture reaches 220°F for proper jelly set. Avoid overcrowding the pot, as this can cause scorching. Stir occasionally but vigorously to prevent sticking. Maintaining this boil is crucial for activating the pectin and achieving the desired consistency in your homemade jelly.
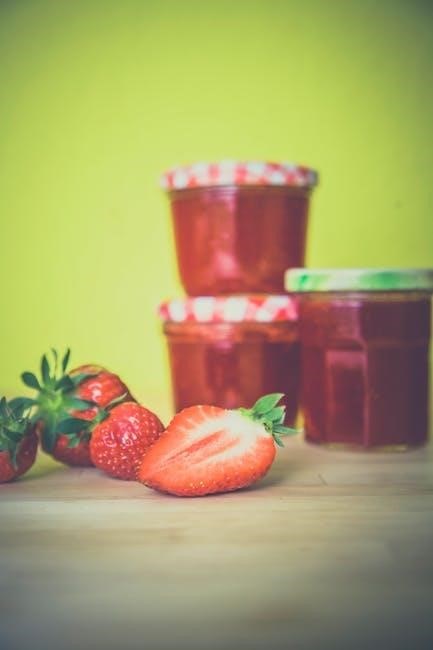
Tips for Achieving the Perfect Consistency
Measure Sure-Jell precisely and avoid overcrowding the pot. Test the jelly’s set by placing a small amount on a chilled plate or using a thermometer. Avoid over-stirring.
Common Mistakes to Avoid
Avoid overcooking, as it can make jelly too stiff. Too much sugar can prevent proper setting, while insufficient pectin leads to a runny texture. Overcrowding the pot may reduce boiling effectiveness. Stirring excessively can break down pectin, affecting consistency. Not testing the jelly’s set before bottling risks improper texture. Ensure accurate measurements and follow instructions closely for the best results. Timing and temperature control are also crucial for achieving the perfect jelly consistency every time.
Testing the Jelly for Readiness
To ensure your jelly is ready, perform the sheeting test by dripping cooked jelly from a spoon. If it forms a thick, cohesive sheet, it’s set. For the wrinkle test, place a small amount on a chilled plate and let it cool. Gently push with your finger; if it wrinkles, it’s ready. Overcooking can lead to a stiff texture, so test periodically to avoid this. Proper testing ensures the perfect consistency for your homemade jelly.
Storing Your Homemade Jelly
Store your homemade jelly in a cool, dark place. Use airtight containers to maintain freshness. Once opened, keep refrigerated to prevent spoilage and extend shelf life.
Proper Storage Techniques
For optimal freshness, store homemade jelly in sterilized, airtight containers. Keep them in a cool, dark place like a pantry or cupboard. Label and date each jar for easy identification. Once opened, refrigerate the jelly to prevent mold and spoilage. Avoid direct sunlight and heat sources, as they can degrade the jelly’s quality. Properly stored jelly retains its flavor and texture for several months. Always use clean utensils when handling stored jelly to maintain its freshness.
Shelf Life and Freezing Options
Homemade jelly made with Sure-Jell can be stored for up to 6 months in a cool, dark place. For longer preservation, jars can be frozen for up to 1 year without affecting quality. Frozen jelly should be thawed in the refrigerator before use. Properly sealed jars will maintain freshness and flavor, ensuring your homemade jelly remains delicious for months. Always check for signs of spoilage before consuming stored jelly.
Safety and Canning Best Practices
Ensure a safe canning process by sterilizing jars and utensils thoroughly. Follow tested recipes and guidelines for proper sealing to maintain quality and safety.
Ensuring Sterility During the Process
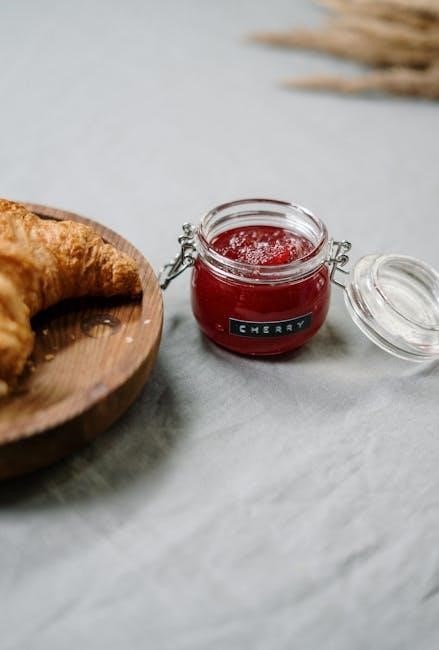
Ensuring sterility is crucial for safe jelly making. Wash jars, lids, and utensils in hot soapy water, then sterilize them in boiling water for 10-15 minutes. Use a clean workspace and avoid cross-contamination by handling sterile equipment with clean hands. Sterilizing ensures no bacteria or mold can grow, preserving the jelly and preventing spoilage. This step is vital for maintaining the quality and safety of your homemade jelly.
Sealing Jars Correctly for Long-Term Storage
Properly sealing jars is essential for long-term storage. Use clean, sterilized jars and lids. Place the jelly while hot, leaving 1/4 inch headspace. Wipe rims with a clean cloth, apply lids, and tighten rings until resistance is met. Process jars in a boiling water bath for 5-10 minutes to ensure a vacuum seal. Let jars cool undisturbed for 12-24 hours. Check seals by pressing on lids; they should not move or show indentation.
Variations and Creative Ideas
Explore creative variations by adding spices or herbs for unique flavors. Experiment with different fruits to create versatile jelly options, enhancing your homemadeSure-Jell creations with personalized touches.
Adding Spices or Herbs for Unique Flavors
Elevate your homemade jelly by infusing unique flavors with spices or herbs. Try adding cinnamon for warmth, mint for freshness, or citrus zest for brightness. These additions can enhance the fruit’s natural taste without overpowering it. Experiment with combinations like ginger-pineapple or basil-strawberry for a creative twist. Remember to add spices during the cooking process and herbs toward the end to preserve their aroma and flavor. This technique allows you to craft personalized jelly recipes that stand out.
Using Different Fruits for Versatility
Experiment with various fruits to create diverse jelly flavors. Strawberries, blueberries, raspberries, and even tropical fruits like mango or pineapple work beautifully with Sure-Jell. Each fruit offers a unique taste profile, allowing you to craft jellies that range from sweet and tart to bold and exotic. Mixing fruits can also yield intriguing flavor combinations, such as strawberry-rhubarb or apricot-pineapple. This versatility makes Sure-Jell a versatile base for endless creative possibilities in jelly making.
